
The Acolyte was my first Demo Reel project under the guise of Damon Woods and Anton Naperiala at Gnomon. For this project I wanted to take my previous knowledge of character creation in the film pipeline and utilize the techniques taught in the Character Creation for Games class to create a game ready character. During this project I was introduced to more complex skin shading techniques in Unreal Engine opening my eyes to the possibilities that Unreal has to offer for character creation.
THE INSPIRATION
The Acolyte is my 3D interpretation of Pierre Raveneau's concept 'Temple Acolyte'. Being a history enthusiast, I naturally gravitated toward Pierre Raveneau's concept work!
This project had a number of challenges that were subtle and required a good amount of problem-solving when translating the 2D concept into 3D. Instead of the traditional film pipeline, I decided the games route would be best as I aspire to be a character artist for games. Unreal Engine 5 was my primary source for rendering and I learned an incredible amount about the power of Unreal Engine. I hope you enjoy!


Modeling & Sculpting
I used a combination of ZBrush, R3DS Wrap3, and xNormal for the skin detail. The hard surface work was a combination of Maya & ZModeler in Zbrush. I used Marvelous Designer for the cloth and retopologized in Maya.


TEXTURES
Once I was happy with the model I started on the texturing. I used the games workflow of baking high poly detail onto lowpoly geo. Assigning vertex color id on the highpoly in ZBrush and assigning texture sets on the lowpoly in Maya I baked down high-resolution textures using Substance Painter. Once I had the desired result I used a combination of material functions within Unreal Engine to display the textures properly.


Texture Maps
I used the basecolor, normal and the standard RMA pack method (Roughness, Metalness, AO) for all the clothing, accessories and the sword. The anatomical parts of the model I added a SES pack for the Specular, Emissive and Scatter maps.

Hair
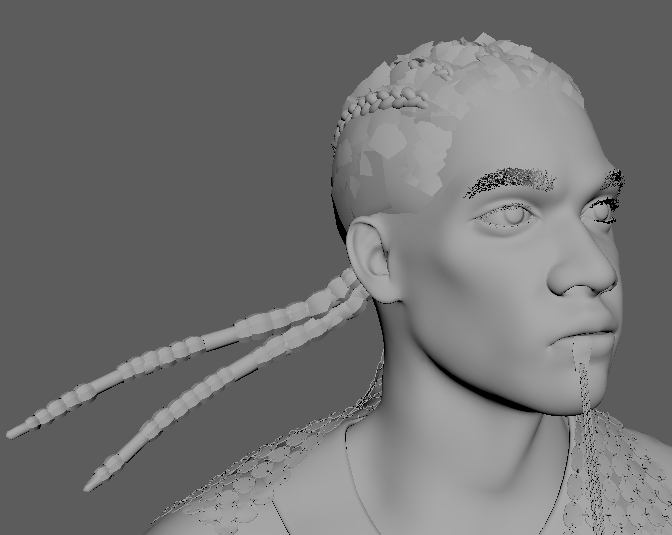
One of the challenges of this project was how to approach the hair. I asked a lot of questions and with guidance from my instructor Damon Woods, I decided to approach it using hair cards. The braids, dreadlocks, and haircap were all created in ZBrush. When it was time to texture I used Fibershop.


Haircap
The haircap was done by dynameshing and re-meshing a duplicate head. I created and baked down fibermesh onto the haircap geometry to give me the flexibility of a mask in Substance Painter.
Braids & Dreadlocks
The braids were done using a braids brush and then brought into Maya and uv-ed using the unitize method. The dreadlocks were created with a curves brush in ZBrush and sculpted on to get the desired shape then brought into Maya and uv-ed with the unitize method.

Eyebrows & Eyelashes
I used a Yeti groom for each and then created curves from the groom guides. For the eyelashes I converted the curves to tubes and merged the verts to create tips. The eyebrows I did the same but was able to convert curves to ribbons and copied uv's so that they would read.
Flyaways
Last I needed to create coverage for the dreadlocks. I created a base layer and a mid-layer using quad-draw to get the coverage needed. In order to avoid hand-placing flyaways, I extracted a curve from an edge of each dreadlock and centered it within the geo. I then used MASH to instance a modified cylinder to get the desired location.

Special Thanks
This project was my first fully realized character in Unreal Engine. What an incredible journey learning a different pipeline and what an artist can do when working in real time! A huge thanks to all my instructors at Gnomon with a Special Thanks to my Demo Reel instructors: Damon Woods, Anton Napierala and Miguel Ortega for all the guidance and support. Without the help I received from Gnomon instructors and all my friends at school none of this would have happened. So grateful, Thank you all!